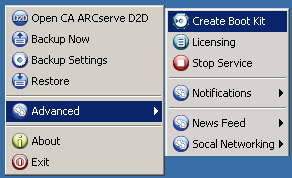
The CA ARCserve D2D Boot Kit wizard is launched and the Welcome screen opens.
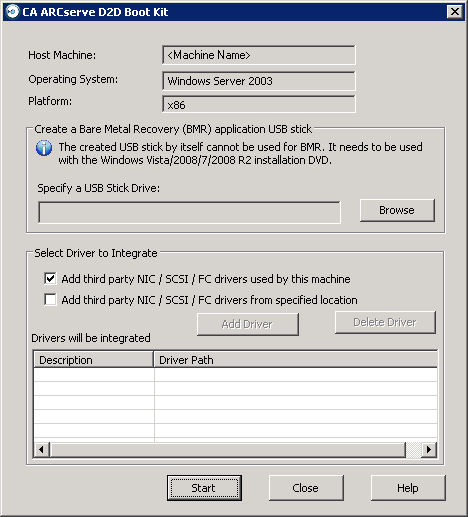
The CA ARCserve D2D Boot Kit dialog opens.
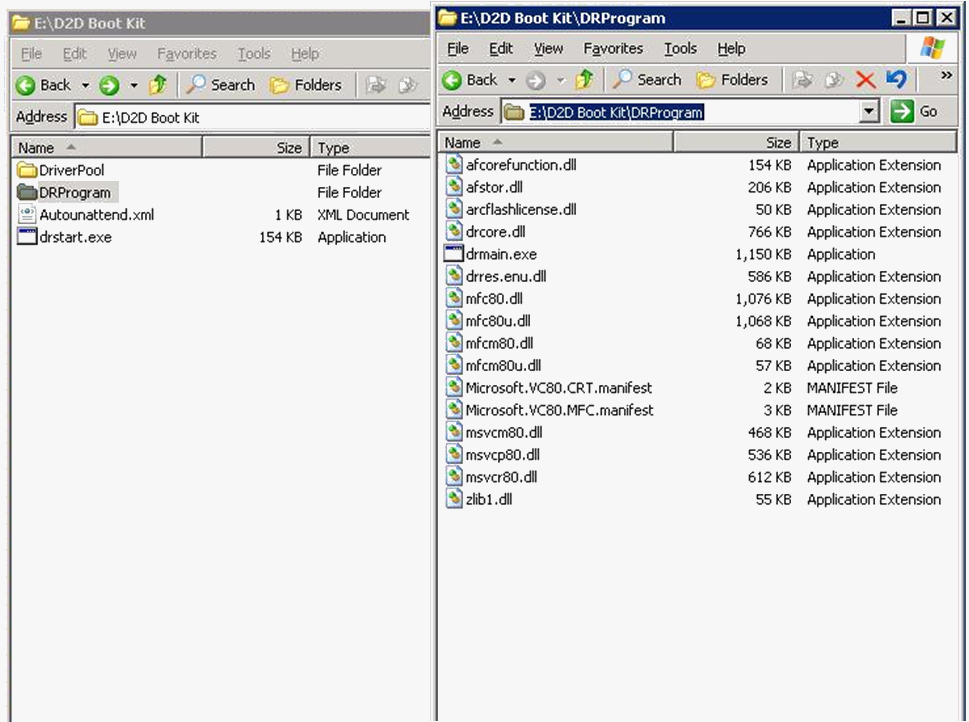
If you do not have a USB stick available or you do not want to create the boot image on a USB stick at this time, you can save the boot kit data temporarily to another location and then copy it to a USB stick later.
- Third party NIC/SCSI/FC drivers which are used by this machine.
If your server has any third-party driver installed, a copy of this driver will be made during backup. If there is no third-party driver installed, this check box will not be enabled.
- Third party NIC/SCSI/FC drivers which are from a specified location.
To include any necessary network (NIC), Small Computer System Interface (SCSI), or Fibre Channel (FC) drivers in the boot kit creation process. You can also manually add or delete drivers from the displayed list.
Note: The USB stick will not contain the data of particular machine unless you select the "Third party NIC/SCSI/FC drivers which are from specified location" option.
The selected drivers will then be loaded during the recovery process.
The Boot Kit creation progress is displayed and a confirmation message is displayed when the USB stick has been successfully created.
Note: The created USB stick can be used for other similar machines. (A USB stick created from a 32-bit platform can only be used to restore a 32-bit server. A USB stick created from a 64-bit platform can only be used to restore a 64-bit server).